Contents
- 1 Introduction: The Benefits of Under Cabinet Lighting
- 2 Choosing the Right LED Strip Lights
- 3 Gathering Necessary Tools and Materials
- 4 Preparing for Installation
- 5 Installing the LED Strip Lights
- 6 Troubleshooting Common Issues
- 7 Maintaining Your Under Cabinet Lighting
- 8 Conclusion: Transform Your Space with Under Cabinet Lighting
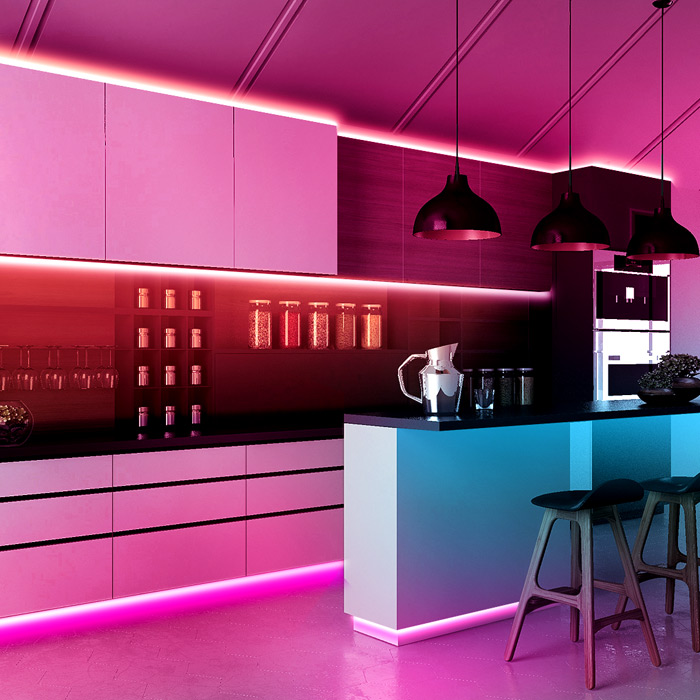
Introduction: The Benefits of Under Cabinet Lighting
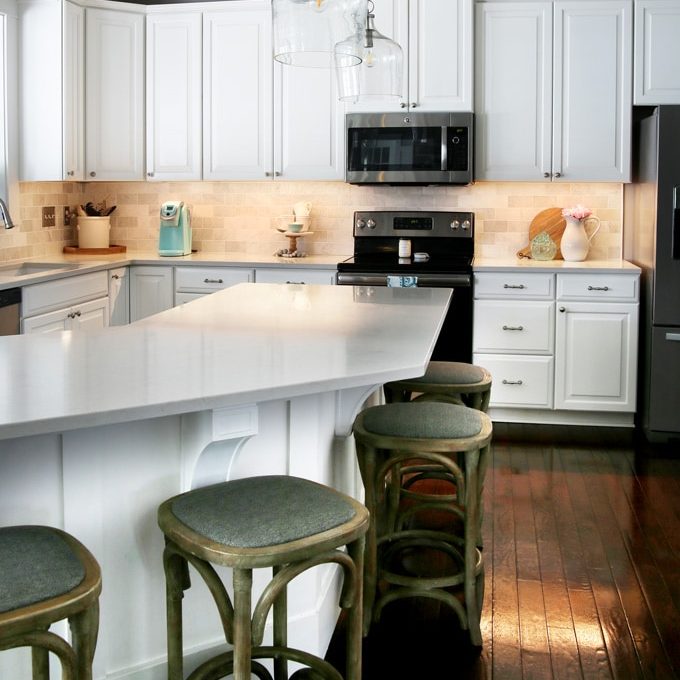
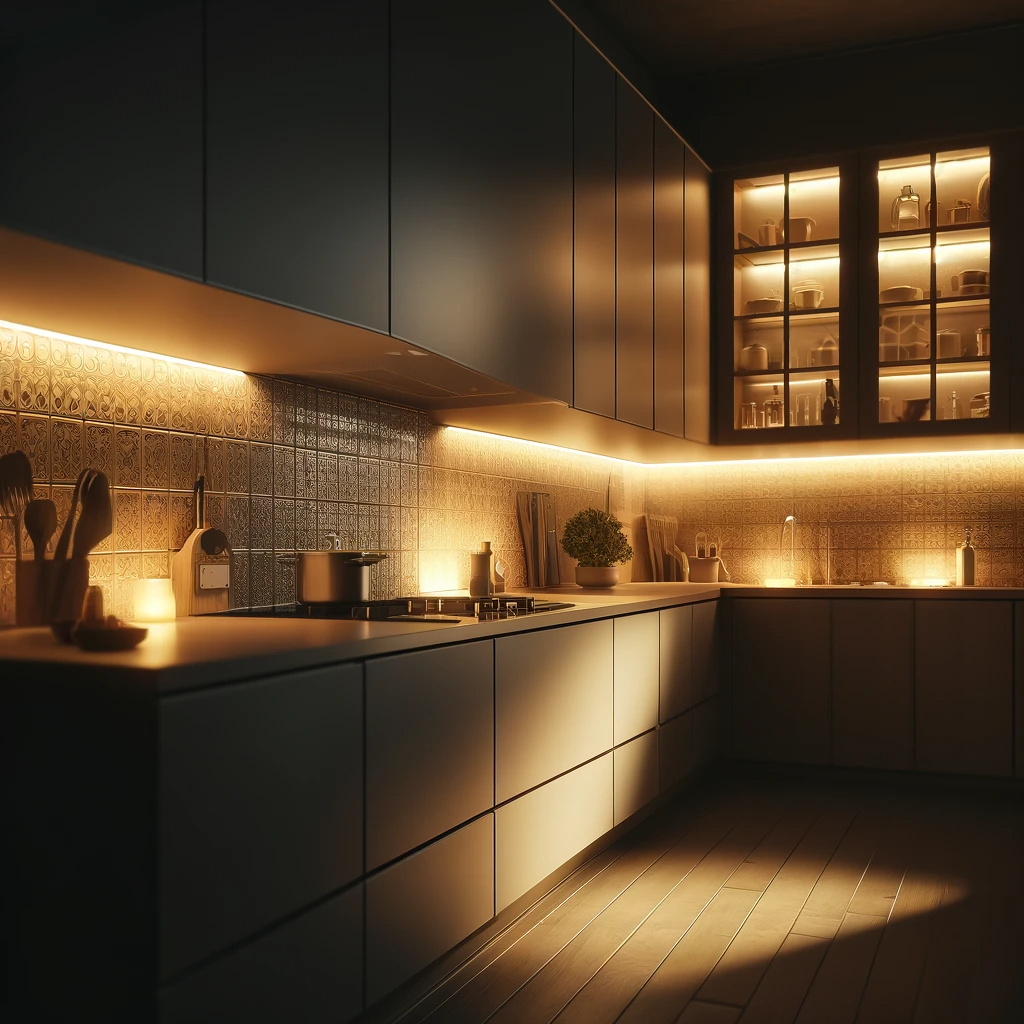
Under cabinet LED strip lighting is a popular choice for both aesthetic and functional reasons. This type of lighting enhances visibility in kitchens, workspaces, and other areas, making tasks easier and safer. Moreover, LED strips provide an energy-efficient and long-lasting lighting solution. Their versatility allows them to fit various designs and spaces. Installing under cabinet lighting can also elevate the ambiance of a room, creating a warm and inviting atmosphere. This article will guide you through selecting the right LED strips, preparing for installation, the installation process, and maintenance tips for long-lasting performance.
Choosing the Right LED Strip Lights
Consider Brightness and Color Temperature
When selecting LED strip lights, brightness and color temperature play a significant role in your overall satisfaction. LED lights come in different brightness levels, usually measured in lumens. For under-cabinet lighting, aim for a brightness level between 300 to 800 lumens per foot, depending on your needs.
Color temperature is another important factor. Most LED lights come in warm white (around 2700K to 3000K), cool white (around 4000K to 5000K), and daylight (above 5000K). Warm white creates a cozy environment, while cool white offers a more clinical look. Consider the mood you want to achieve when making your selection.
Evaluate Length and Flexibility
Evaluate the length of the LED strip you need to cover the area under your cabinets. Measure the cabinet length where you plan to install the lights, taking care to account for any corners or bends. Most LED strips come in standard lengths, often 16.4 feet, but can be cut to fit.
Flexibility is also an important consideration. Many LED strips are designed to bend around corners or curves, making them suitable for various cabinet designs. Ensure that you choose flexible strips to accommodate your cabinet shape, providing even lighting coverage and enhancing the overall look.
Gathering Necessary Tools and Materials
Essential Tools Required
Before beginning your installation, gather all the necessary tools. You will need:
- A measuring tape
- A pencil or marker
- Scissors
- A ruler
- Wire cutters
- A drill (if needed for mounting clips)
Having these tools on hand will streamline the installation process. Ensure that you follow safety precautions, especially when handling electrical items.
Required Materials
In addition to LED strips, you will need several materials for a successful installation. These include:
- Adhesive backing or mounting clips
- A power supply or driver (depending on the strip voltage)
- Extension cords (if needed)
- Connectors (for cutting and reconnecting strips)
Double-check that all components are compatible with your chosen LED strip lights. Having everything prepared before you start will make the installation much easier.
Preparing for Installation
Measure and Mark
Before installing, take precise measurements of the under-cabinet space. Use your measuring tape to determine the length needed for each section where you plan to install the LED strips. Mark the spots lightly with a pencil for clarity.
Carefully measure each cabinet section, considering any obstructions that may impact the lighting. This ensures that the strips fit perfectly and provides a clean look. Correct measurements are crucial for a seamless installation, reducing the need for adjustments later.
Clean the Surface
Preparing the installation area is essential for ensuring a secure fit. Start by thoroughly cleaning the underside of your cabinets. Use a gentle cleaner or rubbing alcohol to remove dust, grease, or residue.
Allow the surface to dry completely before applying the LED strips. A clean surface ensures that the adhesive backing will stick properly, preventing any peeling or falling after installation. Taking the time to clean will make your lighting last longer and look better.
Installing the LED Strip Lights
Apply the Strips
Once you’re ready to begin installation, carefully peel the backing off the adhesive side of the LED strip. Align the strip with the marks you made earlier, and press it firmly against the surface. If your strips are flexible, you can curve them around corners as needed.
Make sure to apply even pressure along the entire length to ensure a secure bond. If using mounting clips, position them every few inches to hold the strips in place. Secure each clip with screws if provided, creating a neat and tidy appearance.
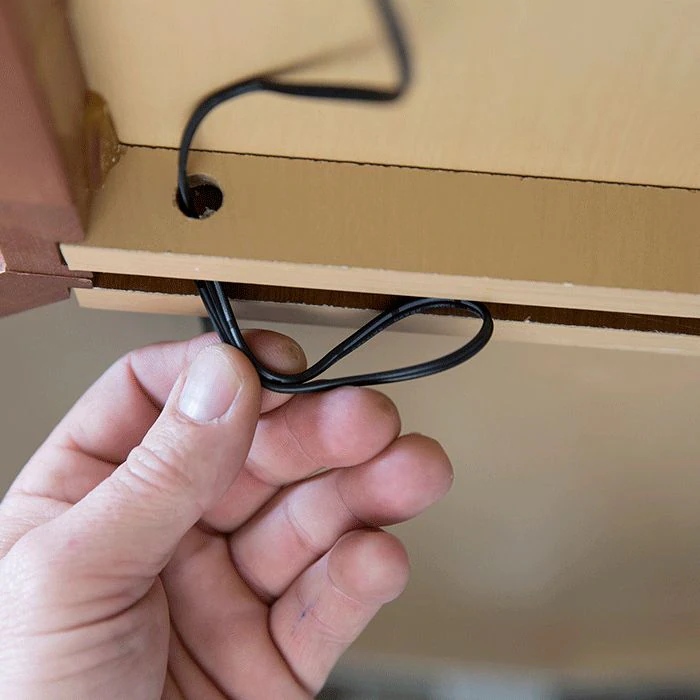
Connect the Power Supply
After the strips are attached, it’s time to connect the power supply. Locate the end of the LED strip containing the connector. Attach this connector to the matching end of the power supply. Ensure that the polarity (positive and negative) is correct to avoid damage.
If you’re using multiple strips, connector wires may be needed. Cut the strips to the desired length if necessary, making sure they are turned off when doing so. Once everything is connected properly, plug in the power supply and test the lights.
Troubleshooting Common Issues
Addressing Dim Lights
If you notice that your LED lights are dim after installation, several factors could be at play. First, check the connection between the LED strip and the power supply. A loose connection can lead to insufficient power.
Next, ensure that you are using the right voltage power supply. If the voltage is too low, the lights will not shine as brightly as they should. If these solutions don’t fix the issue, it may be necessary to check individual connections within the strip itself.
Dealing with Flickering
Flickering lights can be frustrating and may indicate a problem with the installation. Start by checking the connections to make sure they are secure. Loose connectors often cause flickering.
Additionally, using a compatible dimmer switch with LED strips is crucial. Make sure the switch is designed for LEDs; otherwise, it might cause flickering or inconsistent lighting. If the problem persists, consider consulting a professional or replacing the faulty components.
Maintaining Your Under Cabinet Lighting
Regular Cleaning
To ensure that your under cabinet lighting remains effective, regular cleaning is essential. Dust can accumulate on the LED strips over time, dimming the light. Use a soft cloth or duster to wipe the surface gently without damaging the adhesive or the strips.
Avoid using harsh chemicals or abrasive cleaners, as these can harm the LED components. Regularly cleaning the lights will help maintain their brightness and extend their lifespan. A clean surface is crucial for optimal illumination and energy efficiency.
Checking for Damage
Periodically inspect your LED strips for signs of wear or damage. Look for frayed cables, discolored sections, or any flickering lights, which can signal issues needing attention. Early detection of problems can prevent more serious issues down the line.
If you find any damage, consider replacing the affected section. Many LED strips are designed to be cut and reconnected easily. Keeping your lights in good condition ensures they continue to perform at their best and enhances the overall look of your space.
Conclusion: Transform Your Space with Under Cabinet Lighting
In summary, installing under cabinet LED strip lighting is an excellent way to improve the aesthetics and functionality of your space. With the right tools, materials, and techniques, you can achieve a professional-looking installation that enhances your daily tasks.
By selecting the right LED strips, preparing the installation area properly, and following the installation process, you can create a beautifully illuminated environment tailored to your needs. Remember to maintain your lighting for optimal performance.
Transforming your space with under cabinet lighting not only enhances visibility but also adds a touch of elegance to your kitchen or workspace. So, gather your materials, follow the steps, and enjoy the benefits of your new lighting setup! Happy illuminating!