Contents
- 1 Introduction: Understanding LED Recessed Lighting
- 2 Tools and Materials Needed
- 3 Safety First: Preparing to Replace Your Fixture
- 4 Installing the New LED Recessed Lighting
- 5 Testing and Final Steps
- 6 Maintaining Your LED Recessed Lighting
- 7 Exploring the Benefits of LED Recessed Lighting
- 8 Designing Your Space with LED Lighting
- 9 Conclusion: Enjoying Your Upgraded LED Recessed Lighting
Introduction: Understanding LED Recessed Lighting
LED recessed lighting has become a popular choice for homeowners seeking modern, energy-efficient lighting solutions. These fixtures offer a sleek design that fits seamlessly into ceilings and walls, providing bright illumination in various spaces. Over time, you may need to replace these fixtures due to burnout, damage, or simply updating your home’s lighting style. Knowing how to replace LED recessed lighting can enhance your home’s aesthetic and functionality. This guide will walk you through the process, ensuring you complete it safely and effectively.
Tools and Materials Needed
Gather Essential Tools
Before starting the replacement process, gather the necessary tools. You will need a screwdriver, wire connectors, a voltage tester, and a ladder. A screwdriver is essential for removing the fixture, while wire connectors will help secure the new LED light. A voltage tester ensures safety by checking that electrical power is off.
Having these tools ready allows for a smoother transition during the replacement process. Instead of searching for tools mid-way through, gather everything beforehand. A well-prepared workspace leads to a more efficient and enjoyable experience.
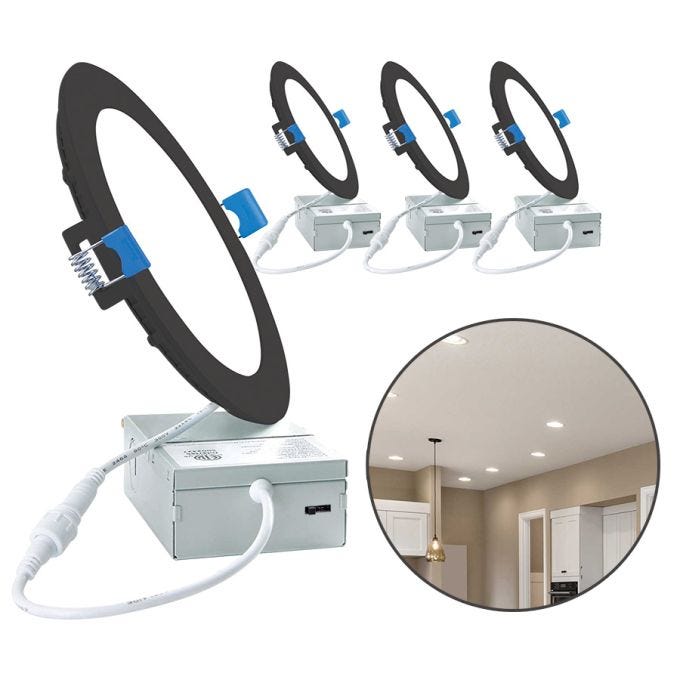
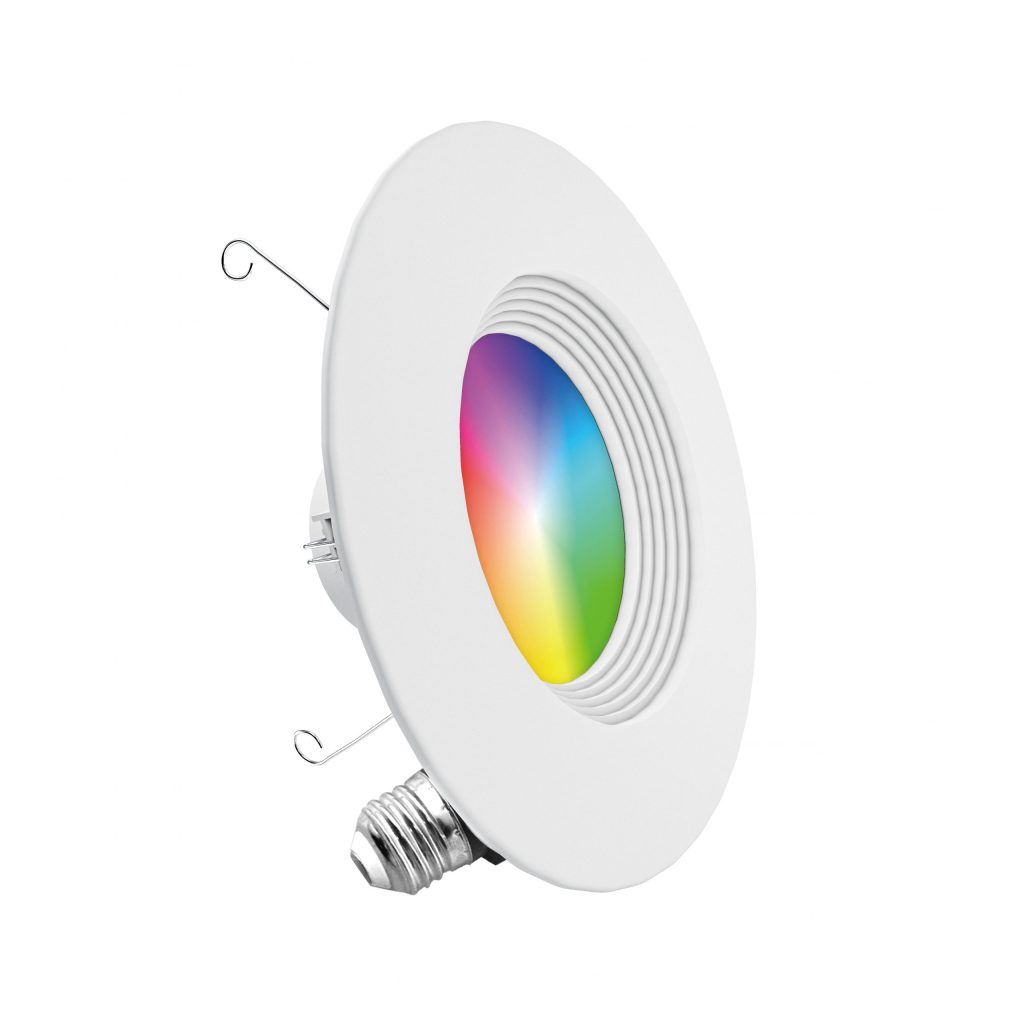
Choose the Right LED Recessed Light
Selecting the right LED recessed light is crucial for the success of your project. Consider factors such as size, color temperature, and wattage. Most fixtures come in standard sizes, such as 4-inch or 6-inch, so be sure to choose one that fits the existing opening.
Additionally, pick a color temperature that complements your room. Warmer tones (around 2700K) create a cozy atmosphere, while cooler tones (3000K and above) are great for workspaces. The right choice will not only enhance your space but ensure functionality.
Safety First: Preparing to Replace Your Fixture
Turn Off Power
Before beginning any electrical work, safety is paramount. First, locate the circuit breaker that controls the recessed lighting and turn it off. This step eliminates the risk of electric shock while you work.
Double-check that the power is off using a voltage tester. Testing your wires will ensure you start the replacement safely. Never skip this step, as electrical accidents can lead to severe injuries.
Remove the Existing Fixture
Once you’re confident that the power is off, it’s time to remove the existing LED recessed light. Using your screwdriver, carefully take out the fixture from the ceiling. Depending on the model, there may be clips or screws holding the fixture in place.
Once detached, gently pull the fixture down to expose the wiring. Be cautious during this process, as you don’t want to damage any wiring. After removing it, you will be ready to connect the new fixture.
Installing the New LED Recessed Lighting
Connect the Wiring
With the old fixture removed, it’s time to connect the new LED recessed light. Start by aligning the new fixture with the wiring that you exposed earlier. Typically, you will find three wires: black (hot), white (neutral), and green or bare (ground).
Using wire connectors, connect the wires from the new LED fixture to the corresponding ones from the ceiling. Make sure to twist the wires together securely. A strong connection is vital for safe operation. Document the steps for future reference in case you need repairs or replacements down the line.
Secure the New Fixture
After connecting the wiring, gently push the wires back into the ceiling can housing. Next, secure the new LED recessed light in place. Depending on the design, this could involve clips or screws. Ensure the fixture is flush with the ceiling and stable.
Once the fixture is in place, double-check that it aligns properly in the opening. An aesthetically pleasing installation will enhance the room’s look. Spend a moment to confirm everything looks tidy and professional.
Testing and Final Steps
Restore Power and Test the Lights
After securely installing the new fixture, it’s time to restore power. Head back to your circuit breaker and turn the power back on.
Once the power is restored, test the new LED recessed lighting by flipping the switch. If everything is connected properly, the light should illuminate. If it does not light up, switch off the power again and double-check your wiring connections.
Clean Up and Dispose of Old Fixtures
With the new LED recessed light functioning properly, it’s time to tidy up your workspace. Collect all tools and dispose of the old fixtures safely. Many components can be recycled, so check your local recycling regulations. Proper disposal not only keeps your space clean but also promotes environmentally friendly practices.
When disposing of old fixtures, especially if they contain glass or other fragile materials, ensure they are handled carefully to avoid injury. Maintaining a clean workspace keeps your home safe and organized.
Maintaining Your LED Recessed Lighting
Regular Cleaning
To keep your LED recessed lights shining bright, regular cleaning is essential. Dust and debris can accumulate over time, dulling the light output. A simple dusting with a soft cloth can do wonders.
When cleaning, always turn off the power first. This safety precaution ensures that you avoid any electrical risks while maintaining your fixtures. Regular upkeep can prolong the life of your lights and enhance their efficiency.
Monitor Performance
Keep an eye on the performance of your new LED recessed lights. If you notice flickering or dimming, it might indicate a wiring issue or a problem with the fixture itself. Addressing these issues early can prevent larger problems down the line.
Additionally, be aware that LEDs have a long lifespan, typically 15,000 to 25,000 hours. However, if you find a fixture needs frequent replacements, consider consulting a professional electrician. They can assess whether other underlying issues require attention.
Exploring the Benefits of LED Recessed Lighting
Energy Efficiency
One of the main advantages of LED recessed lighting is its energy efficiency. Compared to traditional incandescent or fluorescent bulbs, LED lights consume significantly less energy. This efficiency translates into lower electricity bills, which can be particularly beneficial for large homes or commercial spaces with multiple fixtures.
Moreover, LEDs convert a higher percentage of electricity into light rather than heat. This characteristic not only improves brightness but also reduces unnecessary energy waste. Over time, upgrading to LED recessed lighting can lead to substantial savings, making it a wise investment in the long term.
Longevity and Durability
LED lights are renowned for their longevity. Most LED fixtures have a lifespan of 15,000 to 25,000 hours, far outperforming traditional bulbs that often need replacement every 1,000 hours. This longevity reduces the frequency of replacements, allowing you to enjoy consistent lighting without constant maintenance.
Additionally, LED lights are more durable than their counterparts. They are made from solid materials and are less susceptible to breaking or burning out quickly. This durability makes them ideal for various settings, whether in high-traffic areas or in hard-to-reach places like recessed ceilings.
Designing Your Space with LED Lighting
Enhancing Aesthetics
LED recessed lighting offers flexibility in design, allowing you to enhance the aesthetics of any space. These fixtures can be strategically placed to highlight architectural features, artwork, or specific areas within a room. The ability to adjust the direction of the lights creates a dynamic visual effect that can transform a plain space into something special.
Consider using different color temperatures in various rooms to evoke specific moods. For example, warmer tones can create a cozy feel in a living room, while cooler lights are ideal for kitchens and workspaces. The right lighting design harmonizes with your style, contributing to an inviting atmosphere.
Layering Light for Functionality
Combining LED recessed lighting with other types of lighting creates a layered approach that enhances functionality. Layering light involves the use of different lighting types, such as ambient, task, and accent lighting. This approach ensures that a room is well-lit according to its specific needs.
In a kitchen, for instance, overhead recessed lights can provide general illumination, while under-cabinet lights offer focused task lighting for food preparation. Using LED dimmers can also create versatility, allowing you to adjust the brightness based on the occasion. This thoughtful design enhances usability while maximizing energy efficiency.
Conclusion: Enjoying Your Upgraded LED Recessed Lighting
In conclusion, replacing LED recessed lighting is a straightforward process that can significantly enhance the look and feel of your home. Following the steps outlined in this guide allows for a quick, safe, and successful installation.
Always prioritize safety by turning off power and preparing your workspace to ensure smooth progress. Regular maintenance will keep your lights shining bright, providing excellent illumination for years to come.
Embracing your ability to handle home projects can lead to greater self-sufficiency and confidence in your skills. So gather your tools, select your preferred fixtures, and enjoy the benefits of upgraded LED recessed lighting throughout your home!