LED under cabinet lighting can transform your kitchen and workspace, adding both functionality and aesthetic appeal. These lights provide better visibility, making tasks easier in dark corners. Installing under cabinet lighting is a straightforward DIY project that many homeowners can tackle. In this article, we will explore the types of LED lights available, the tools required, and the installation process.
Contents
Understanding LED Under Cabinet Lighting
Types of LED Lights Available
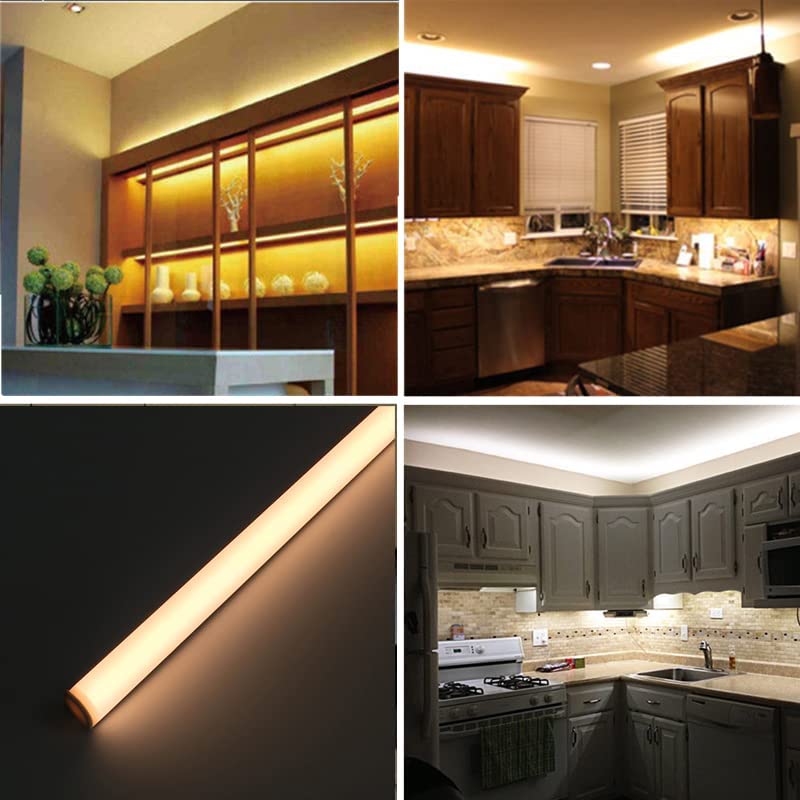
Before installation, it’s essential to understand the types of LED under cabinet lights available. The most common types include strip lights, puck lights, and linear fixtures. LED strip lights are flexible and can be cut to length, making them ideal for various cabinet sizes. They can be attached directly to the underside of cabinets without taking up much space.
Puck lights are small, round fixtures that provide focused lighting. They are perfect for illuminating specific areas and can be installed individually. Linear fixtures are longer and often used in larger spaces. They provide even lighting across broader areas, making them a popular choice for long cabinets.
Choosing the right type will depend on the aesthetics you desire and the practical needs of your space. Consider factors like brightness, light color, and installation ease while making your decision.
Gathering Necessary Tools
Essential Tools for Installation
Before you begin the installation process, gather all the necessary tools. This step ensures that your project runs smoothly without interruptions. Essential tools include a measuring tape, level, pencil, drill, screwdriver, and adhesive or mounting hardware.
You may also need wire connectors or clips if you choose a hardwired option. A wire stripper is useful for exposing the ends of the power wires if necessary. Remember to have electrical tape on hand for securing connections.
If you’re using strip lights, double-sided tape can simplify installation. For puck lights, check if you need special fasteners. Gathering all tools ahead of time will help you avoid delays and maintain the flow of your work, making the installation experience more enjoyable.
Planning the Layout
Measuring and Marking
Planning your layout is crucial for successful installation. Start by measuring the length of the cabinet to determine how many lights you’ll need. If using strip lights, consider the length you need to cover each section of your cabinets. Puck lights should be spaced evenly, typically around 24 inches apart for consistent lighting.
Use a pencil to mark where each light will be positioned. For strip lights, mark the corners and sections where you’ll cut and attach them. Ensure that your marks are straight to avoid crooked lines, which can be frustrating later.
Consider electrical outlets when planning your layout. Ensure that the lights can easily connect to a power source without visible wires hanging down. Taking the time to plan your layout will set a solid foundation for a successful installation.
Installing the Lights
Step-by-Step Installation Process
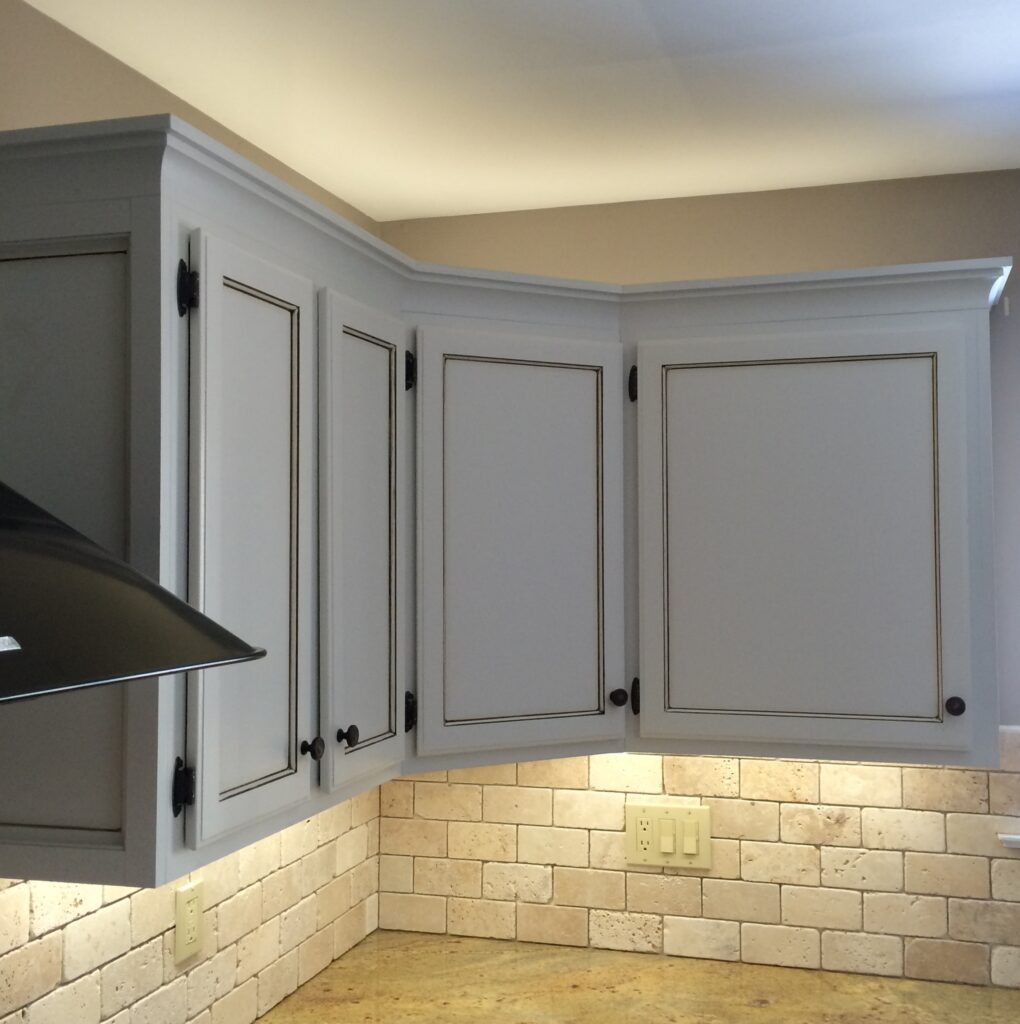
Now that you have planned your layout and gathered your tools, it’s time to install the lights. Start by cleaning the area where the lights will be mounted. Ensure it’s free of dust and grease to allow for better adhesion.
- For Strip Lights: Peel the adhesive backing and press the strip firmly onto the marked area. Use a level to ensure it’s straight. If your strip lights need cutting, use scissors at the marked areas.
- For Puck Lights: Use your drill to make holes for the mounting screws, if required. Align the fixture with your pencil marks and secure it with screws. For some models, you may need to screw in the base first, and then attach the light.
- For Linear Fixtures: Follow the same steps as with strip lights, ensuring to use a level for straight installation.
Be cautious while handling electrical components, following the manufacturer’s instructions for your specific model. Each type of light will have its guidelines to ensure proper installation.
Connecting to Power
Power Sources and Electrical Considerations
After installing the lights, the next step is connecting them to a power source. Ensure that the power is turned off at the circuit box before working with electrical connections.
If your lights are plug-in, locate an outlet nearby. Avoid overloading the outlet and consider using a power strip if necessary. Make sure the cord is not in the way, using clips to secure it neatly along the cabinet edges.
For hardwired lights, connect the wires according to the manufacturer’s instructions. This often involves connecting the hot (black) wire and the neutral (white) wire, plus a ground wire if applicable. Use wire connectors to ensure safe and effective connections, then wrap with electrical tape for durability.
Taking safety precautions during this step will prevent future electrical issues and ensure a lasting installation.
Testing the Lights
Ensuring Proper Functionality
Once all connections are made, it’s time to test the lights. Turn the power back on at the circuit box and switch on the light. Pay attention to ensure that all lights work as intended.
If a light doesn’t turn on, check the connections and the power source. Make sure the bulbs, if required, are properly installed or replaced. Use a multimeter to check for power if you encounter persistent issues.
This testing phase is important to ensure safety and functionality. Once you confirm every light works, you can move on to securing wires and finishing touches.
Finishing Touches and Clean-Up
Securing Cables and Final Adjustments
After confirming the lights function correctly, neatly secure all cables. Use clips or adhesive tape to hold cords against the underside of cabinets and walls. This will keep them out of sight, providing a clean look.
If necessary, make small adjustments to the positioning of the lights for optimal lighting and aesthetics. Wipe down the cabinet surfaces to remove any dust or debris left from the installation process.
Following your clean-up, enjoy the fresh, bright ambiance that your new LED under cabinet lights provide. Take a moment to appreciate how your space has transformed and how much brighter it feels.
Maintenance Tips for Longevity
Keeping Your LED Lights Functional
Proper maintenance is essential for ensuring the longevity of your LED under cabinet lights. Regularly check connections and ensure that no wires are exposed or frayed. Dust the lights and surrounding cabinet areas to maintain clean aesthetics and optimal brightness.
If you are using dimmable LED lights, monitor their functionality as they may need replacements over time. Replacing burnt-out lights quickly will prevent dim areas in your kitchen.
When cleaning the lights, use a dry cloth to avoid damaging them. For stubborn stains, slightly dampen the cloth with a gentle cleaner. Avoid using abrasive materials that may scratch surfaces.
In addition, be mindful of heat. While LED lights are much cooler than traditional bulbs, ensure proper ventilation around them. This practice can help maintain their efficiency and extend their lifespan.
Conclusion: Elevating Your Space with LED Lighting
Installing LED under cabinet lighting can significantly elevate the functionality and atmosphere of your kitchen or workspace. By understanding the types of lights available, gathering the right tools, and following the installation steps meticulously, you can tackle this DIY project confidently.
Take the time to plan your layout carefully and connect everything correctly to ensure a lasting installation. With regular maintenance, your new lights can provide beautiful illumination for years to come.
Enjoy the enhanced visibility and aesthetics that LED under cabinet lighting brings to your home. Illuminate your space, making tasks easier and creating an inviting atmosphere for family and friends. Start your project today and transform your living area into a well-lit sanctuary!

