Contents
Overview of Recessed LED Lighting
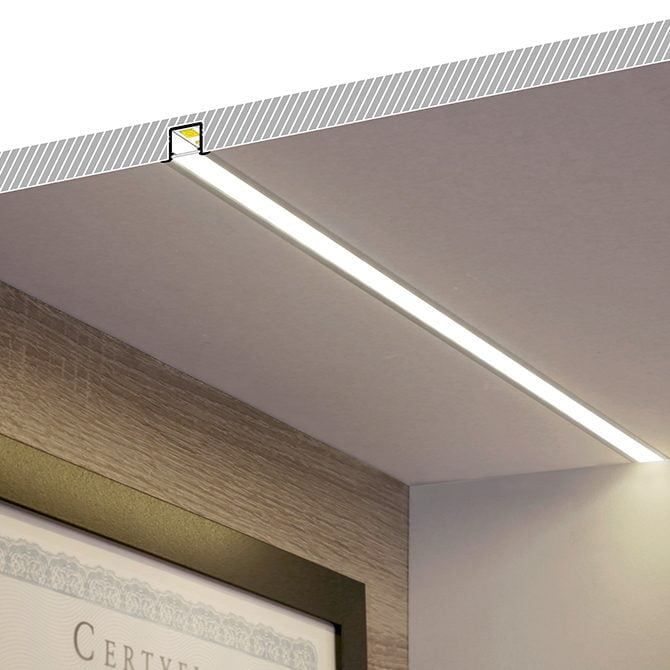
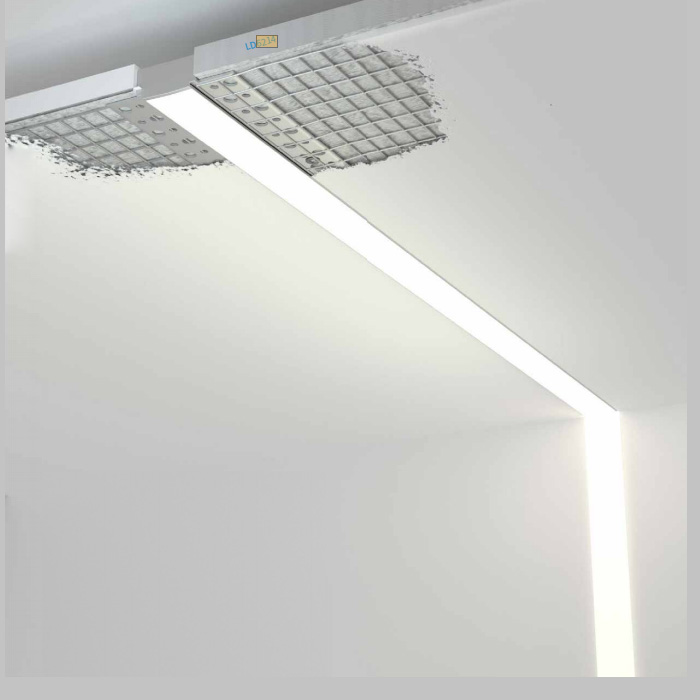
Recessed led lighting installation! Recessed LED lighting, also known as ‘can lights’ or ‘downlights’, is a popular choice for modern home interiors. Embedded directly into the ceiling, these lights provide a sleek, streamlined look that enhances any room’s aesthetic. They are widely favored not only for their minimalistic appeal, but also for their energy efficiency and long-lasting performance.

Benefits of Choosing Recessed LED Lights
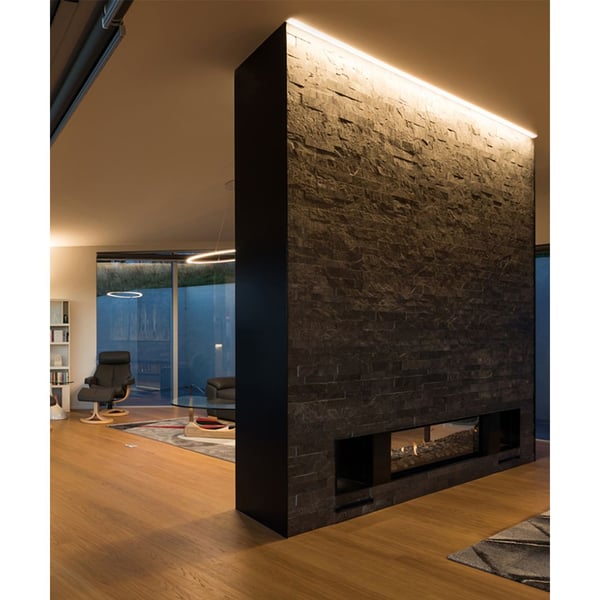
Opting for recessed LED lights comes with multiple advantages. They offer a contemporary feel, creating a clean and uncluttered ceiling scape. These lights can reduce energy usage due to their high efficiency, making them an eco-friendly option for homeowners. With their long lifespan, they minimize the frequency of replacements, which is both cost-effective and convenient.
Brightness, Color and Energy Efficiency
The brightness of recessed LED lights illuminates spaces effectively. These lights come in various color temperatures, allowing customization from warm to cool tones to suit different moods and settings. Their superior energy efficiency not only trims electricity costs but also reduces the carbon footprint, aligning with greener living practices.
Preliminary Considerations
Before diving into the recessed LED lighting installation, two crucial steps set the foundation for your project’s success. First, assess your lighting needs, and second, choose the right LED recessed lights. This planning ensures your lighting fits your space like a glove, striking the perfect balance between aesthetics and functionality.
Assessing Your Lighting Needs
Start by considering the room’s size and function. Think about how you use the space and where you need light the most. Do you need bright lighting to work or softer tones for relaxing? Plan for more fixtures in larger rooms and fewer in small areas. Aim for a layout that spreads light evenly through the space. Remember, good lighting makes a room both welcoming and practical.
Selecting the Appropriate LED Recessed Lights
Next, it’s time to pick the right LED recessed lights. Look for energy-saving features and the correct size to fit your ceilings. Check that the lights offer the brightness (lumens) and color temperature you desire. Will you go for cool tones that energize, or warm tones for coziness? Also, consider the beam angle for spot or flood lighting. Take your time here—the right choice saves costs and enhances your room beautifully. With these points in mind, you’re ready for the next phase of your lighting adventure. Your smart planning now will light up your life later.
Tools and Materials Checklist
Before you start the recessed led lighting installation, it’s important to have all the necessary tools and materials on hand. Being prepared will help ensure a smooth installation process.
Essential Tools for the Installation
Here’s what you’ll need:
- A sturdy ladder for safe access to your ceiling
- A reliable drill with the correct drill bits for creating ceiling holes
- Wire cutters and strippers for handling electrical wiring
- A voltage tester to ensure safety before working with wires
- A drywall saw or hole saw attachment for the drill to cut precise holes
- Safety gear including goggles and gloves to protect yourself
- A measuring tape for accurate spacing and placement of the lights
Make sure these tools are ready and within reach before you begin.
Required Materials for a Smooth Process
In addition to tools, you’ll need these materials:
- Recessed LED light kits that fit your ceiling and design preferences
- Electrical wires of the correct gauge for connecting your lights
- Junction boxes, usually included with your LED kits, to house wiring connections
- Wire nuts for safely connecting wires securely
Gathering high-quality materials will contribute to the durability and efficiency of your lighting. Once you have your tools and materials checklist complete, you’re set to start the installation journey.

Planning and Preparation
Proper planning is key to successful recessed LED lighting installation. It ensures safety and optimal lighting.
Safety Precautions to Observe
Before starting installation, always put safety first:
- Turn off power to the circuit at the breaker box.
- Test the area with a voltage tester to confirm power is off.
- Wear protective goggles and gloves to prevent injuries.
- Use a stable ladder to reach the ceiling safely.
By following these steps, you can avoid electrical hazards and ensure a safe installation process.
Planning the Layout for Optimal Lighting
A well-planned layout achieves balanced, eye-pleasing illumination:
- Use a measuring tape to calculate spacing between lights.
- Consider room size and ceiling height for light placement.
- Mark spots on the ceiling with a pencil where lights will go.
- Ensure lights are not too close to walls or each other.
Planning for even light distribution is crucial. It enhances room ambiance and functionality. Taking the time to plan properly makes the installation smoother and more effective.
The Installation Process
Embarking on the installation of recessed LED lighting entails precise execution. Here’s a stepwise approach to ensure a seamless process.
Cutting the Ceiling Holes Accurately
Begin by outlining where each light will be placed using a pencil. Accuracy is key to proper light placement. With a correctly sized drill attachment or drywall saw, cut out each marked spot. Follow the lines closely for a snug fit, avoiding oversized holes.
Wiring the Lights Safely and Effectively
Ensure the power is off at the circuit breaker before wiring. Strip wires and connect them using color matching—black to black, white to white. Twist on wire nuts to secure these connections firmly. Wires should fit inside the junction box neatly. Double-check the connections for peace of mind.
Mounting and Securing the LED Fixtures
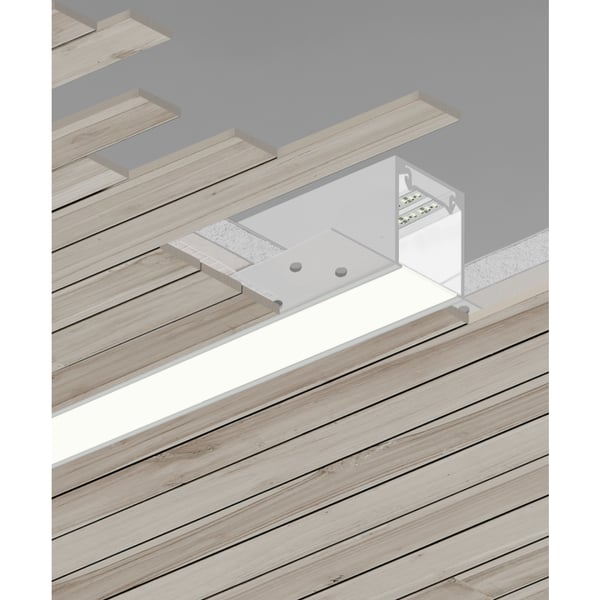
Push each LED fixture into its respective hole. If provided, use clips or springs to hold the lights in place. They should be flush with the ceiling for a sleek finish. The right fitment ensures stability and a professional look. Once secured, you’re poised to enjoy new lighting.
Testing and Troubleshooting
After installing your recessed LED lighting, testing is crucial. Ensure each light functions correctly for a polished look.
Ensuring Proper Function of Each Light
Flip the switch and watch each light. They should turn on without flickering. If not, recheck your wiring.
Troubleshooting Common Installation Issues
If a light doesn’t work, double-check the connections. Look at the bulb if it’s secure. If issues persist, seek professional help.

Finishing Touches and Adjustments
Once you’ve installed your recessed LED lights, the final touches are key to achieve the perfect lighting setup.
Adjusting Light Positions for Even Illumination
Evenly spaced lights create a balanced look and feel. Adjust your recessed LED fixtures so that each area of your room is well-lit. If some spaces seem dark or others too bright, reposition the lights until you’re satisfied with the distribution. This might mean shifting some fixtures slightly to ensure that no corner is left in the shadows.
Remember to measure the distance from each light to its neighbor. This keeps your lighting uniform and prevents uneven spots. A good rule of thumb is to space the lights about half the height of the ceiling apart. So, if your ceiling is 8 feet high, place your lights around 4 feet apart.
Maintenance Tips for Longevity
To keep your recessed LED lights shining bright, regular maintenance is important. Dust them off occasionally to prevent buildup, which can dull their brightness. Turn off the power before cleaning for safety. Choose a soft cloth to wipe each fixture gently.
If a bulb goes out, make sure to replace it promptly. Follow the manufacturer’s guide on selecting the right bulb. This keeps your lighting consistent and avoids strain on other lights. Always check that the power is off before making any bulb changes.
By taking care of these finishing adjustments and maintenance, your recessed LED lights will last longer and keep your space looking its best.
Cost Considerations and Professional vs. DIY Installation
When planning for recessed LED lighting, you must consider costs and installation options. Weigh the factors below to make a sound decision.
Estimating the Costs of Recessed Lighting Installation
The costs for installing recessed LED lights can vary greatly. They depend on several things. These include the number of lights, the type of fixtures, and if you’re upgrading or starting from scratch. Costs split into two main parts: materials and labor.
For materials, you’ll need to buy the lights, wiring, and possible tools. This can cost from a few hundred to over a thousand dollars. It’s based on your choices and room size.
As for labor, hiring a professional can range from $100 to $200 per fixture. If you need electrical work, it might cost more. Remember to factor in the quality of lights too.
Deciding Between Professional and DIY Installation
Deciding between professional installation and DIY impacts costs. Professionals guarantee safety and correct work. They can handle unexpected issues too. Yet, professional help does add to your budget.
On the other hand, DIY saves on labor costs. But, you’ll need confidence and the right tools. Simple installations might be a good DIY project. Complex or large-scale work could be better for pros.
Balance your skill level, the project’s scale, and your budget. This will help you decide the best route for your recessed LED lighting installation.


