Contents
Introduction: The Benefits of LED Lighting
Replacing recessed lighting with LED fixtures offers numerous advantages for homeowners. LED lights are energy-efficient, long-lasting, and environmentally friendly. They consume significantly less power than traditional incandescent or fluorescent bulbs, which can lead to lower electricity bills. Furthermore, LEDs have a longer lifespan, often lasting up to 25,000 hours or more. This longevity reduces the need for frequent replacements, making them more cost-effective in the long run. In this article, we will explore the steps to replace recessed lighting with LED, the types of LED options available, and important safety considerations.
Understanding Recessed Lighting
What is Recessed Lighting?
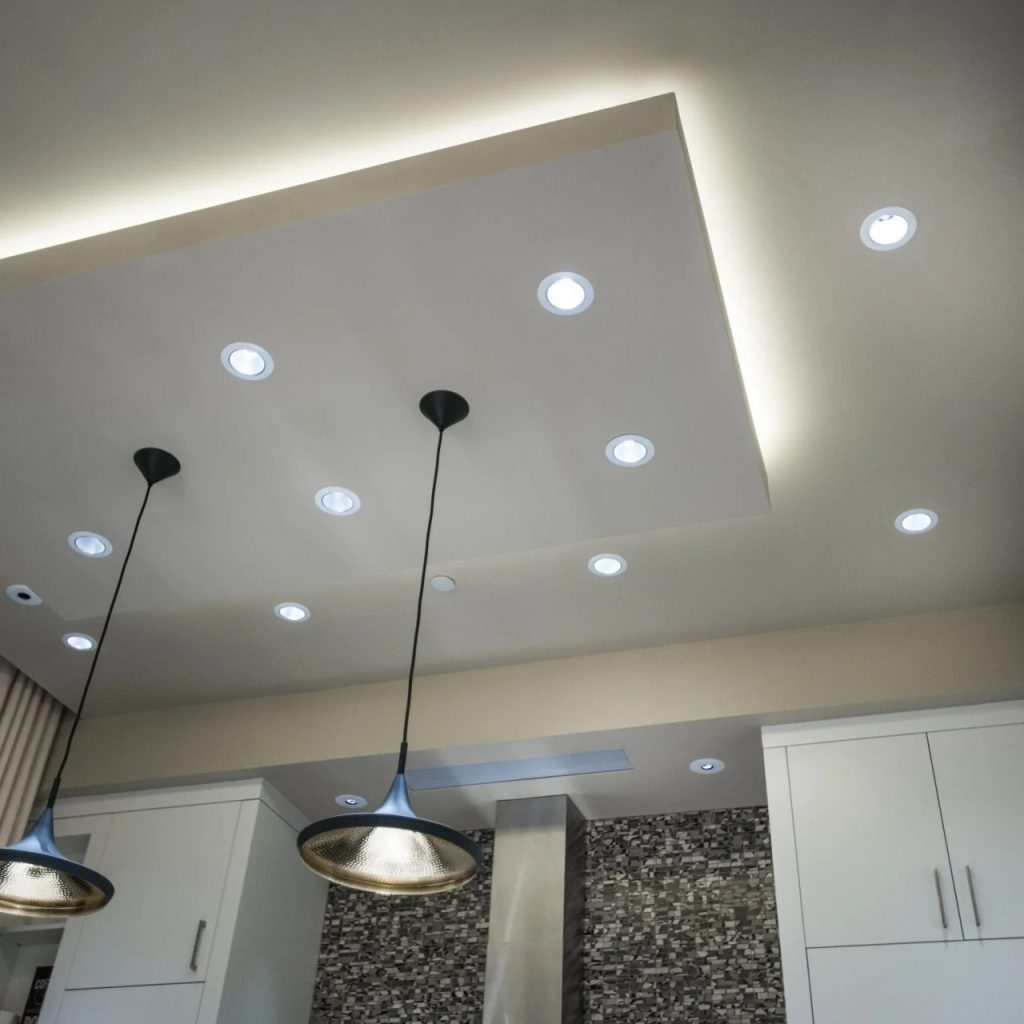
Recessed lighting consists of light fixtures mounted into the ceiling, creating a clean, streamlined look. They are often used to provide ambient light or highlight certain areas in a room. Common in kitchens, living rooms, and hallways, recessed lights can enhance a home’s aesthetic appeal.
However, traditional recessed lighting often uses incandescent or halogen bulbs, which consume more energy. Replacing these with LED options can improve energy efficiency without sacrificing light quality. Understanding the structure and installation of your existing recessed fixtures is essential before making the switch.
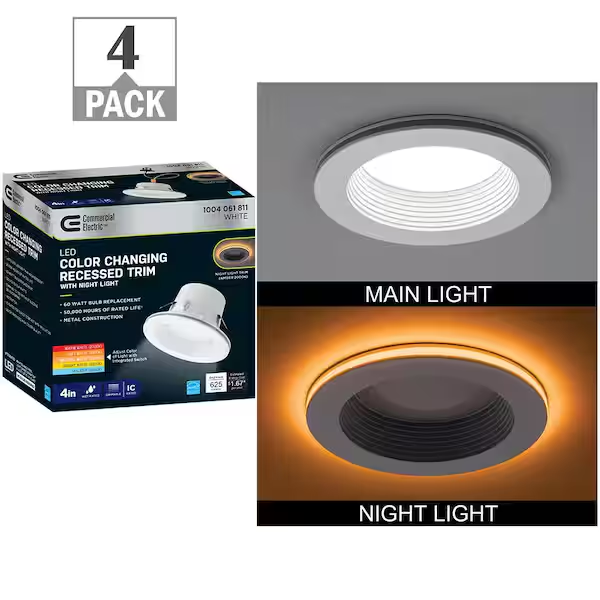
Types of Recessed Lighting Fixtures
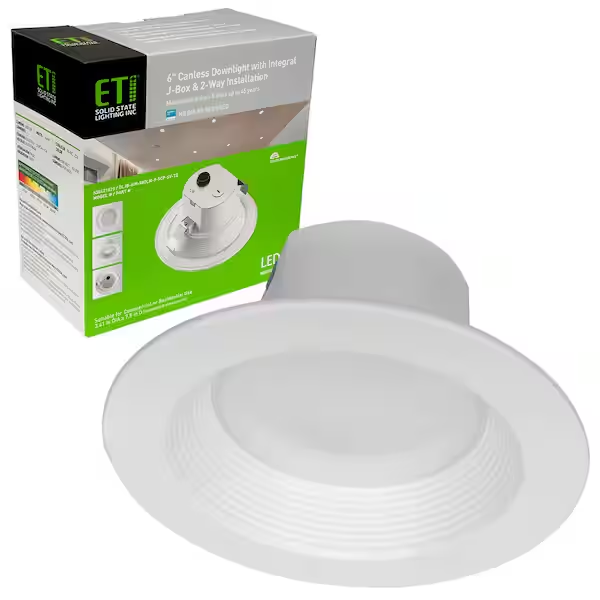
Recessed lighting fixtures come in various types, including new construction, remodel, and retrofit housing. New construction fixtures are installed during building or major renovations, while remodel fixtures fit existing ceilings. Retrofit options allow you to replace the bulb without changing the entire fixture.
When replacing recessed lights with LED, it’s important to know which type of fixture you’re dealing with. This knowledge will influence your choice of LED bulbs or complete LED retrofit kits. Understanding your options ensures that you make informed decisions for your lighting needs.
Choosing the Right LED Lighting
Types of LED Bulbs
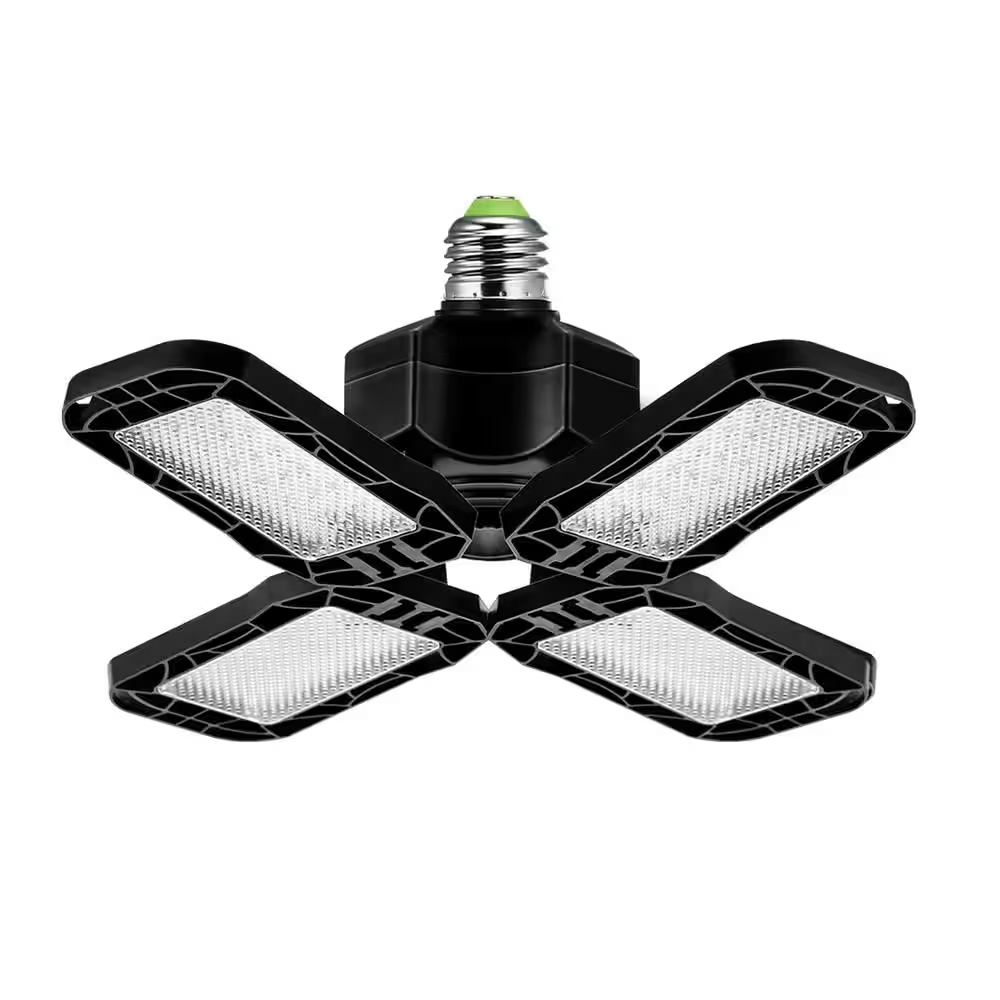
When replacing recessed lighting, you have several LED bulb options. Standard LED bulbs come in various shapes and sizes, typically designed to fit standard sockets. Additionally, there are recessed LED retrofit kits available that include the entire assembly, making installation easier.
Consider the color temperature of the bulbs, which affects the ambiance of your space. Common color temperatures include soft white (2700K), bright white (3000K), and daylight (5000K). Selecting the right color temperature can significantly enhance the overall feeling and functionality of a room.
Wattage and Brightness
Brightness is measured in lumens, not watts, with LEDs. When replacing recessed lighting, consider how much brightness you need for each space. A general guideline is to aim for about 100-150 lumens per square foot in living areas and kitchens.
LED bulbs typically produce more light using less energy. For example, a 10-watt LED bulb may provide the same brightness as a 60-watt incandescent bulb. Understanding how wattage relates to brightness ensures that you choose the right LEDs for your needs while maximizing energy efficiency.
Tools and Materials Needed
Basic Tools for Installation
Before replacing recessed lighting with LED, gather the necessary tools. Common tools required include a screwdriver, wire cutters, and a voltage tester. A ladder or step stool may also be needed to reach higher fixtures safely.
Ensure your workspace is well-lit and organized to avoid any mishaps. Having all necessary tools on hand before starting will streamline the installation process. Well-prepared projects typically take less time, allowing you to enjoy your new lighting sooner.
Additional Materials
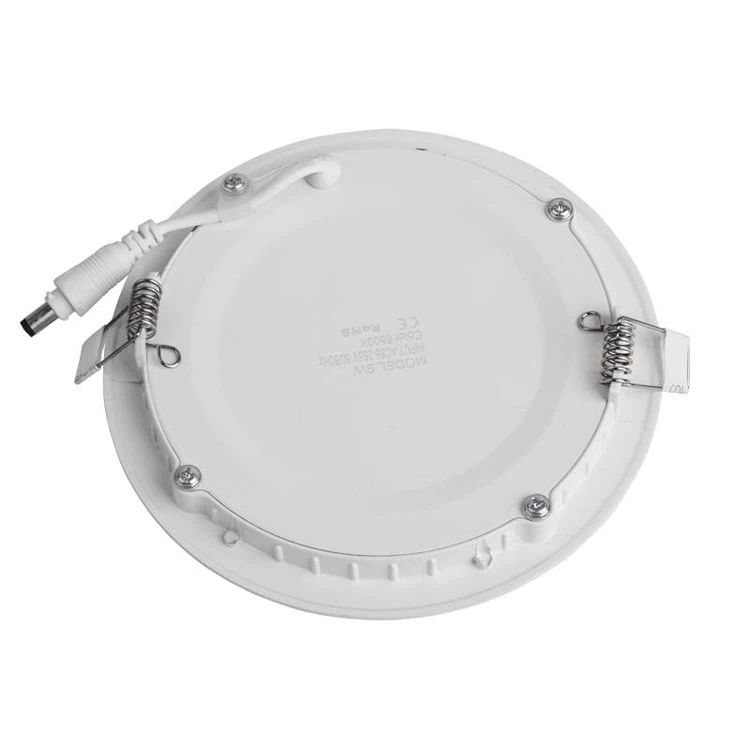
In addition to tools, you will need appropriate materials for the installation. Depending on your choice of LED lighting, this could include LED bulbs, retrofit kits, or new housings. Always read manufacturer instructions to determine what materials are required for your specific lights.
Choosing high-quality products is essential for long-lasting performance. Research reputable brands and consider warranties that may come with your lighting fixtures. This approach can safeguard your investment and ensure satisfaction with the final product.
Steps to Replace Recessed Lighting
Step 1: Turn Off Power
The first and most important step in replacing recessed lighting is to turn off the power supply. This precaution prevents any risk of electrical shock. Locate your circuit breaker and switch off the circuit connected to your recessed lights.
Use a voltage tester to confirm that the power is off before starting any work. Taking this safety step is vital to ensure a safe and successful installation. Never underestimate the importance of safety when dealing with electrical fixtures.
Step 2: Remove Existing Fixtures
Once the power is off, carefully remove the existing recessed light fixtures. This usually involves unscrewing the housing or gently pulling the fixture out. Be sure to disconnect any wiring carefully without causing damage.
Taking photos of the existing wiring can help you remember how to connect the new fixtures. If you’re unsure how to detach your specific type of recessed light, consult the manufacturer’s instructions or refer to online resources. Proper removal is key for a smooth transition to your new LED lights.

Final Steps to Installation
Step 3: Install LED Fixtures or Bulbs
After removing the existing fixtures, you can now install your new LED options. If you’re using retrofit kits, follow the provided instructions. Generally, this involves connecting the wiring and securing the housing into the existing ceiling cutout.
If using standard LED bulbs, simply screw them into the existing sockets. Be attentive during the installation process to ensure that everything fits securely and neatly. A well-installed fixture contributes to both safety and aesthetics.
Step 4: Restore Power and Test
After the installation is complete, it’s time to restore power to the circuit. Go back to your circuit breaker and switch the power back on. Once the power is restored, test your new LED recessed lights to ensure they function correctly.
If any lights do not turn on, double-check your connections. Switch off the power again if you need to make adjustments. Taking the time to ensure everything is working properly will give you peace of mind in your newly upgraded lighting.
Maintenance and Troubleshooting
Routine Maintenance Tips
Once you’ve replaced your recessed lighting with LED, proper maintenance can help ensure longevity. Dust the fixtures regularly to keep them looking fresh and to maximize light output. Use a soft cloth or microfiber cloth to avoid scratches.
If using dimmable LED bulbs, ensure that the dimmer switches are compatible. Incompatible dimmers can lead to flickering or reduced performance. Checking compatibility reduces issues in the long term and enhances your overall experience with LED lighting.
Troubleshooting Common Issues
Occasionally, you may encounter issues with your new LED lights. Common problems include flickering, dimming, or lights not turning on at all. If flickering occurs, ensure that the bulbs are properly installed and check the compatibility of your fixtures and dimmers.
If lights do not turn on, verify that the power is flowing to the circuit and that your connections are secure. If issues persist, consulting a professional electrician can provide solutions and ensure the safety of your lighting system.
Conclusion: Embracing LED Technology
In conclusion, replacing recessed lighting with LED fixtures is a smart investment for homeowners. The benefits of energy efficiency, longevity, and improved light quality make LEDs an attractive choice. Understanding the types of LED lights available, as well as the installation process, empowers homeowners to transition smoothly from traditional lighting.
With careful planning, the right tools, and attention to detail, you can successfully upgrade your recessed lighting. Enjoy the enhanced ambiance and lower energy bills that come with new LED fixtures. Embracing this technology not only elevates your living space but contributes positively to the environment. Whether for aesthetics or sustainability, updating to LED recessed lighting is a rewarding endeavor.