Contents
Introduction to LED Recessed Lighting
Installing LED recessed lighting is an excellent way to enhance the ambiance of any room. These fixtures provide a sleek, modern look and are versatile enough for various spaces. Whether you’re aiming to brighten up a kitchen, living room, or hallway, LED recessed lights can make a significant difference. They save energy and come in various color temperatures, allowing you to customize the lighting to fit your mood and decor.
Before jumping into installation, it’s important to understand the basics. This guide will cover the tools and materials needed, planning your layout, installation steps, and tips for enhancing the efficiency of your LED recessed lighting. By the end, you’ll have the confidence to transform your space beautifully and effectively.
Tools and Materials Needed
Gather Essential Tools
Before beginning your LED recessed lighting project, gather all necessary tools. You’ll need a drill with appropriate bits, a stud finder, a measuring tape, and a pencil for marking your layout. Additionally, having a drywall saw, wire strippers, and a screwdriver will be essential for the installation process.
Safety gear such as gloves, goggles, and a dust mask should also be included in your toolkit. This is important, especially when installing in ceilings, as you’ll be working in areas where dust and debris may arise. Having these tools ready will streamline the installation process, allowing you to work efficiently and safely.
Select the Right LED Fixtures
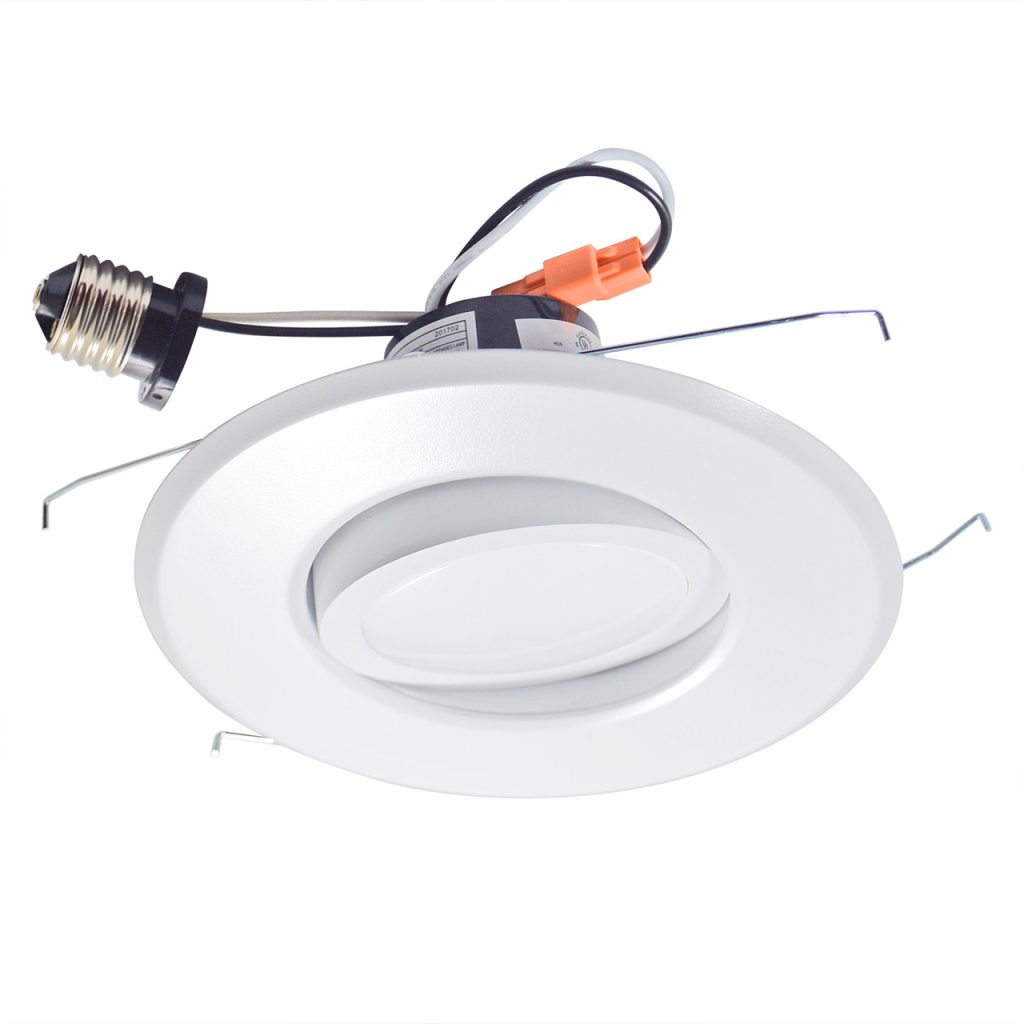
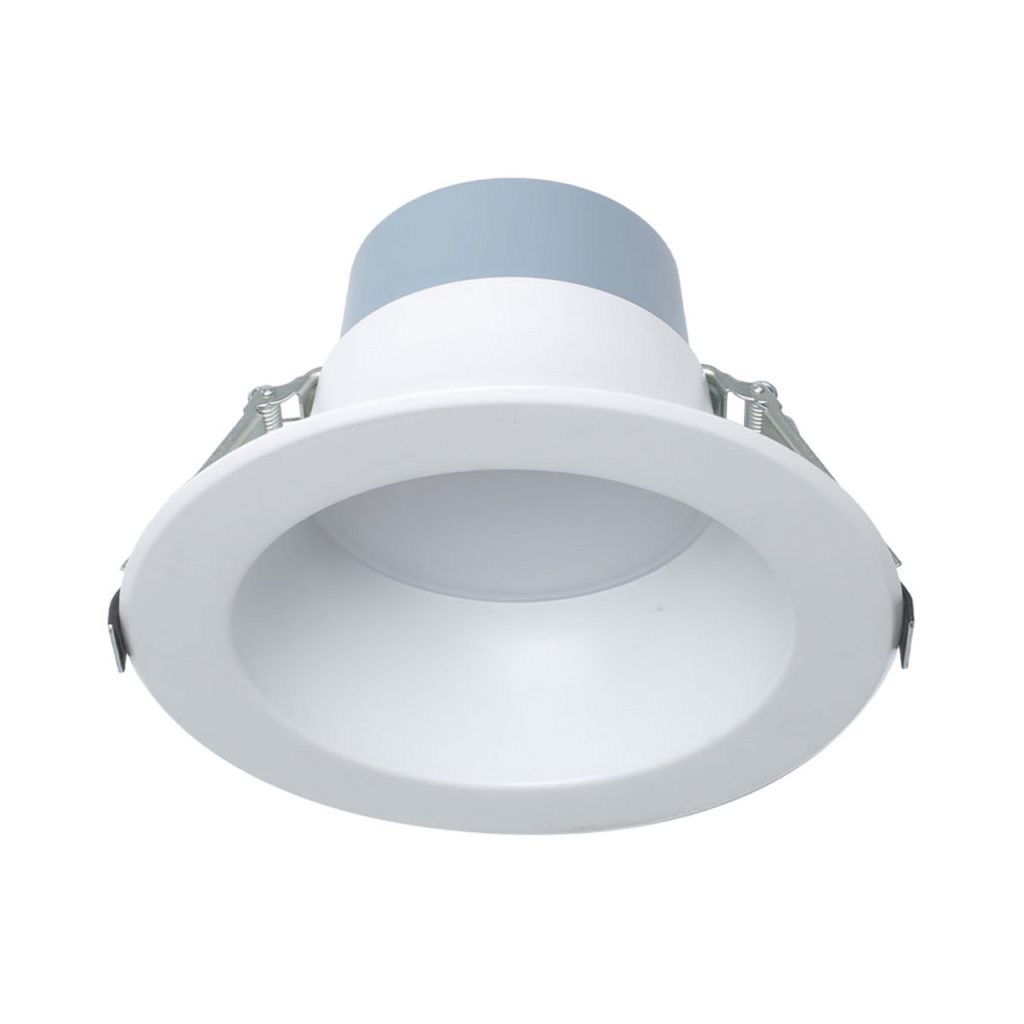
Next, select the LED recessed lighting fixtures that best suit your needs. There are various types of recessed lights available, including new construction and retrofit models. New construction fixtures are ideal if you’re installing lights in a new ceiling frame. In contrast, retrofit fixtures are perfect for replacing older recessed lights or adding to existing ceilings.
Consider factors such as the size of the fixtures, their wattage, and the desired color temperature. Color temperatures can range from warm (around 3000K) to cool (6000K), creating different atmospheres. Choose fixtures that match your desired brightness and style. By selecting the right fixtures, you’ll ensure that your lighting complements your home’s aesthetics effectively.
Planning Your Layout
Determine the Ideal Locations
Planning the layout for your LED recessed lights is crucial for achieving both functionality and ambiance. Start by determining the room’s purpose. For example, kitchens and workspaces often benefit from brighter lighting, while living areas may require softer, more ambient lighting.
Use a measuring tape to mark where you’d like to install the fixtures. A common guideline is to place lights about 4 to 6 feet apart, depending on the ceiling height and desired brightness. Additionally, consider the placement of furniture and other elements in the room. This will help you create a balanced lighting effect that highlights your space.
Create a Lighting Design Plan
Once you establish the locations, create a lighting design plan. Sketch out the layout on paper or use software tools if necessary. Mark each potential fixture location and consider how the lights will work together to create layers of light.
Think about which areas need more focus, such as kitchen counters or bookcases. Additionally, consider incorporating dimmer switches for added control over brightness levels. This flexibility allows you to adjust lighting based on time of day or activities. A well-thought-out design will greatly enhance the functionality and aesthetic appeal of your space.
Installation Steps
Turn Off Power and Prepare the Area
Before starting the installation, ensure your safety by turning off the power to the circuit where you’ll be working. Locate your breaker panel and switch off the corresponding circuit breaker. It’s also wise to double-check that the power is off with a voltage tester.
Next, prepare the area by moving any furniture or obstacles. This will help you work more comfortably and safely. If you are cutting into the ceiling, lay down drop cloths to catch any dust and debris. By taking these precautionary measures, you’ll create a safer workspace as you begin the installation process.
Cut Holes and Install Fixtures
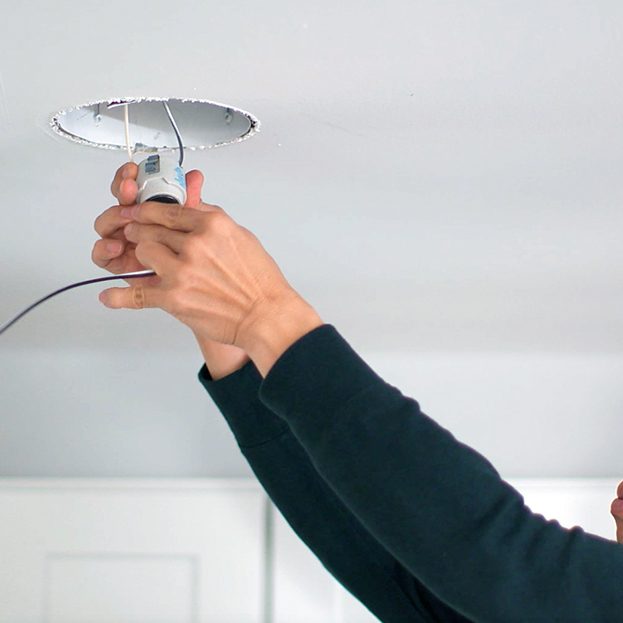
Using your marked layout, take your drywall saw and carefully cut holes for the recessed lights. Make sure to cut the correct size for your chosen fixtures. Pay attention to any overhead wiring or plumbing that may be present, and avoid cutting through those materials.
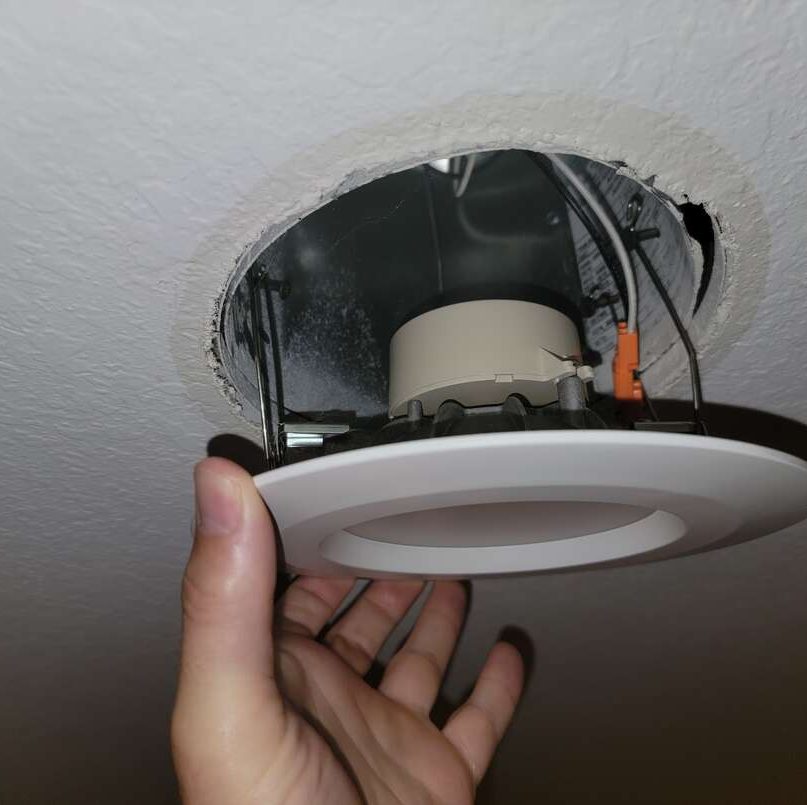
Once the holes are cut, take your LED lighting fixtures and follow the manufacturer’s instructions for installation. Most fixtures will have spring clips that hold them in place. Secure the fixtures in their respective holes and connect the wiring according to the instructions. This might involve stripping the wire ends and securing them with wire nuts. Following these steps ensures your recessed lights are installed confidently.
Connecting the Wiring
Complete the Electrical Connections
After securing the fixtures, it’s time to connect the wiring. Typically, you’ll connect the black (hot) wire, white (neutral) wire, and the green or bare (ground) wire. Make sure the connections are tight and secure to avoid any electrical issues down the line.
If you’re unsure about the electrical connections, it’s always wise to consult with a professional electrician. They can guide you through the process or oversee your work to ensure everything is safe and up to code. Taking this precaution can prevent any electrical hazards in the future.
Restore Power and Test the Lights
Once all wiring connections are complete, restore power at the breaker panel. Then, test each recessed light to ensure they turn on. If any lights do not work, double-check the connections. It’s important to troubleshoot any issues before finalizing the installation.
If everything works smoothly, it’s time to clean up the area by removing any debris or drop cloths. Dispose of any packaging materials responsibly. A clean workspace helps maintain safety and allows you to appreciate the results of your hard work.
Enhancing Efficiency and Style
Consider Using Dimmer Switches
To maximize the versatility of your newly installed LED recessed lighting, consider adding dimmer switches. Dimmer switches allow you to control the brightness of the lights, giving you flexibility for different occasions. For example, you can have bright lighting for homework or soft illumination for evening relaxation.
Installing dimmers is relatively easy. You simply replace the standard switch with a compatible dimmer switch following the manufacturer’s instructions. This upgrade not only enhances functionality but can also help save energy, as dimming the lights reduces electricity usage.
Add Decorative Trim and Accessories
Another way to enhance your recessed lighting is by adding decorative trim or accessories. Some fixtures come with interchangeable trim options, allowing you to customize the look. Choose finishes that match your home decor, such as brushed nickel, bronze, or white.
Moreover, consider adding accent lighting elements, such as LED strips or wall washes, to create a layered lighting effect. These additions provide more depth and can highlight architectural features or artwork. By personalizing your recessed lighting, you enhance both the beauty and functionality of your space.
Conclusion: Transform Your Space with LED Recessed Lighting
In conclusion, installing recessed led lighting is a rewarding project that can significantly enhance any room. By following the steps outlined in this guide—from selecting the right fixtures to planning your layout and executing the installation—you can transform your space effectively.
With the added benefits of energy efficiency and the versatility of dimmer switches, LED recessed lighting offers a modern solution for various lighting needs. Whether you’re illuminating a cozy living room, highlighting kitchen features, or creating an inviting ambiance in a bedroom, recessed lights serve as a stylish choice.
As you embark on your recessed lighting journey, remember to prioritize safety and consult professionals when necessary. Enjoy the process and the beautiful results, as your space brightens with stylish LED recessed lighting.
